This post is a summary of my workshop at the company. However, it might be an initiative of your own approach for automating Sitecore deployments with TeamCity.
- Applying build and integration of Sitecore Helix
- Using XML Transforms to support multiple build configurations
- Using Unicorn – a Sitecore utility designed to simplify deployment of Sitecore items across environments automatically
- Dedicating to my simple framework version 1.5
- Update (07-May-2018): you can play with my simple framework version 1.9 as well
Update (27-Mar-2018): you can play with Sitecore 9 as well
Setup Prerequisites
- Sitecore 8.2 Update 4
- TeamCity 812
- Gulp build runner to run gulp scripts
- TeamCity_VhLocal.zip: my TeamCity project is used for the workshop
- Node.js
How to set it up
- use SIM to setup 03 new Sitecore 8.2 Update 4 instances:
- 01 sitecore instance whose host name should be viethoang.ca.local
- 01 sitecore instance whose host name should be viethoang.cd1.local
- bind another host name tekcent.local to it
- 01 sitecore instance whose host name should be viethoang.cd2.local
- bind another host name demo.local to it
- copy-paste \App_Config\ConnectionStrings.config of ca to overwrite the one of cd1 & cd2 to make sure 03 Sitecore instances using the same databases
- install Node.js
- install TeamCity 812
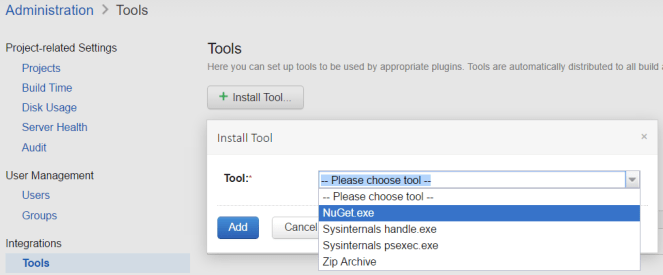
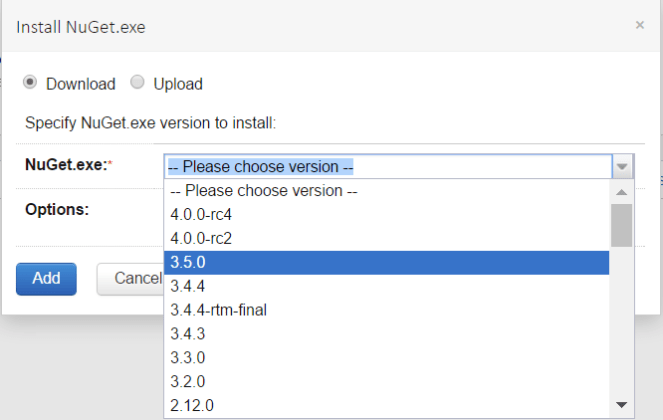
- install Nuget.exe 3.5.0 tool in TeamCity
- Administration -> Tools -> Install Tool…
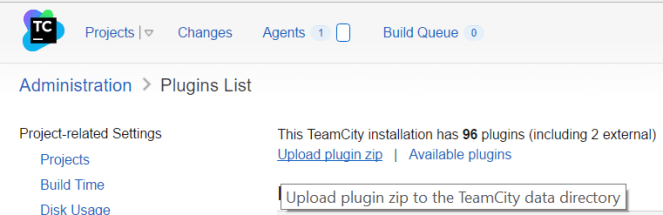
- install Gulp build runner to run gulp scripts in TeamCity
- Upload it to TeamCity
- Administration -> Plugins List -> Upload plugin zip
- note: if the link above does not work, select latest successful build here https://teamcity.jetbrains.com/viewType.html?buildTypeId=bt434
- make sure downloaded
.zipfile is not corrupted 
- put the downloaded plugin
.zipfile into<TeamCity Data Directory>/pluginsfolder (normally it’s C:\ProgramData\JetBrains\TeamCity\plugins)
- make sure downloaded
- restart TeamCity Server via Window Services

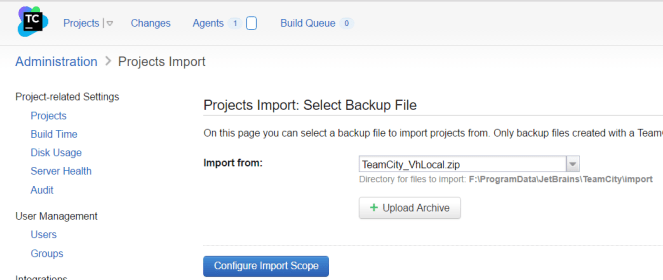
- import TeamCity_VhLocal.zip to TeamCity
- Administration -> Projects Import -> Upload Archive then click Configure Import Scope button
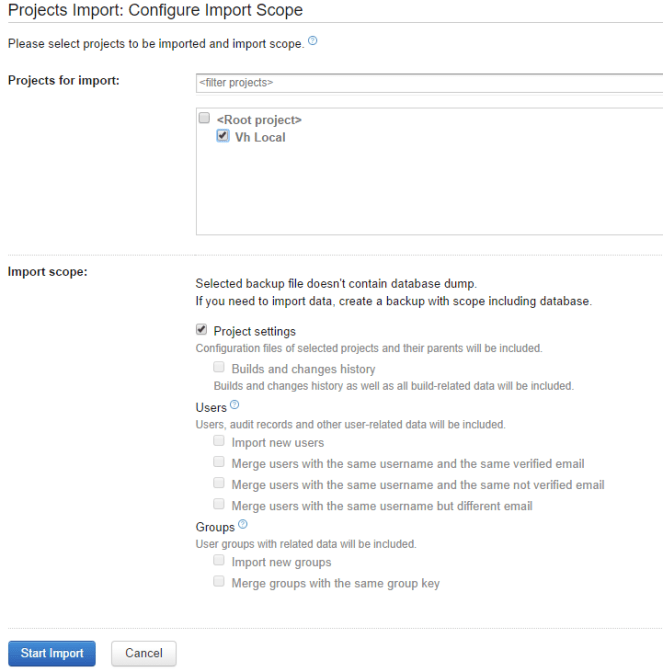
- check Vh local checkbox then click Start Import button
- go to Administration -> -> Vh Local -> CA – CD1 – CD2 -> Parameters in order to correct 04 Configuration Parameters because they might be different between my machine and your machine
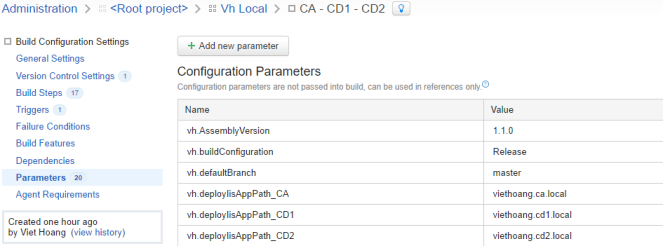
- vh.instanceRoot_CA: the full path parent folder of CA website folder
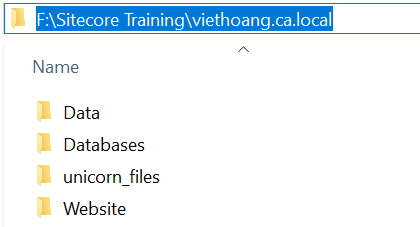
- Note: backslashes are escaped
- Ex: “F:\\Sitecore Training\\viethoang.ca.local”
- vh.instanceRoot_CD1: the full path parent folder of CD1 website folder
- Note: backslashes are escaped
- Ex: “F:\\Sitecore Training\\viethoang.cd1.local”
- vh.instanceRoot_CD2: the full path parent folder of CD2 website folder
- Note: backslashes are escaped
- Ex: “F:\\Sitecore Training\\viethoang.cd2.local”
- vh.unicornFolder: the full path of an available folder which will stores *.yml files (Note: it should be short such as “D:\unicorn_files” in order to avoid “Windows File Paths Longer Than 255 Characters” issue in the very first run of Unicorn Sync)
- vh.instanceRoot_CA: the full path parent folder of CA website folder
What’s next?
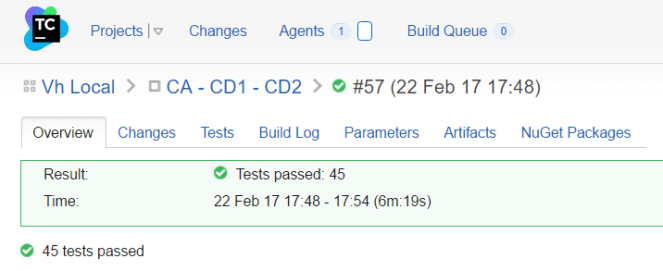
Run build Vh Local :: CA – CD1 – CD2. Hopefully, you will have no any issues and when the build is done, you would see something like this:
How to verify the automating Sitecore deployments on your machine
Open a browser, navigate to:
Hopefully, you would see something like this:


Got issues?
Please send your issues (with screenshots if possible) to viet.hoang.sitecore@gmail.com so that I have a chance to understand your problem and be able to suggest the solution.
Happy Sitecore coding!
